6 min read
How to Test Packaging Before Production?
A practical guide to testing packaging before mass production: from unprinted prototypes and print proofs to drop tests and barcode verification.
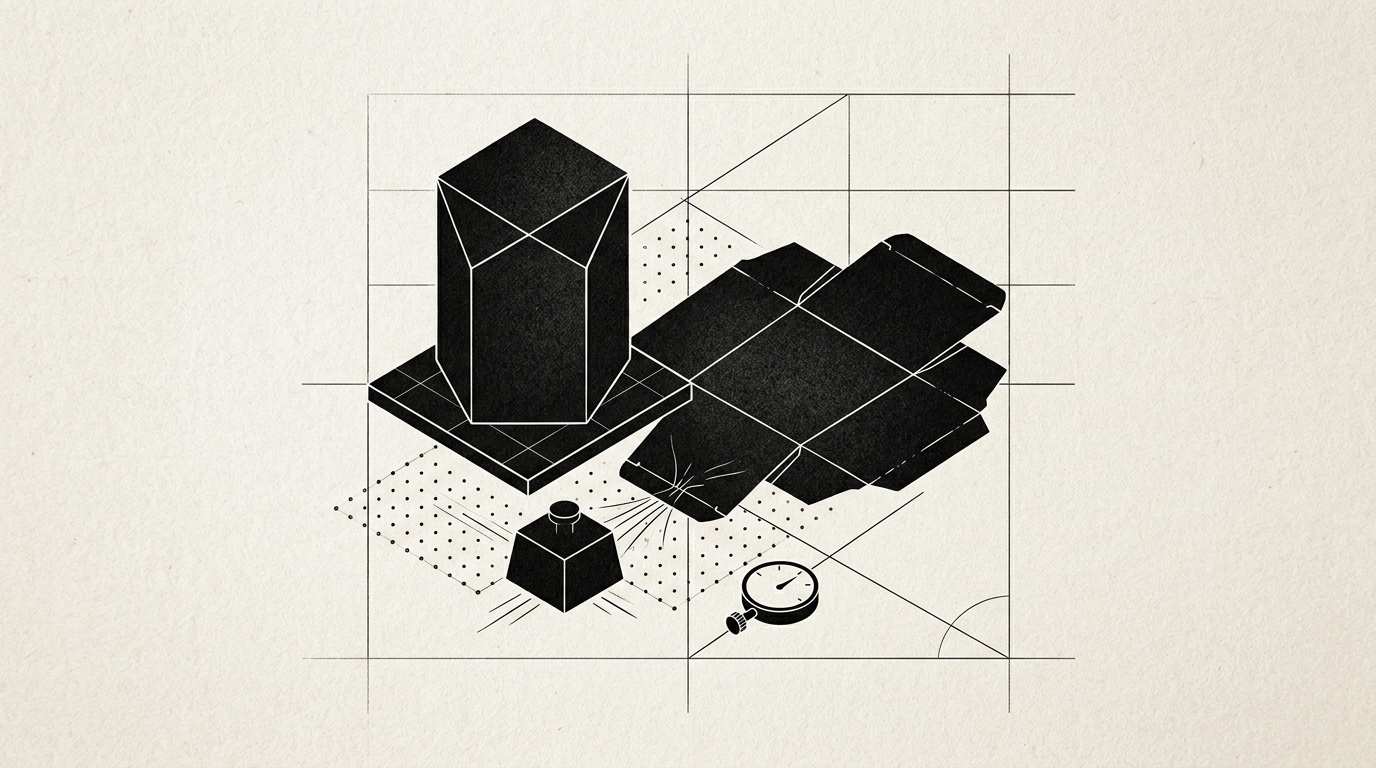
Producing packaging in large runs without prior testing is one of the most expensive mistakes a brand can make. A single millimeter error on the die-line, a missing letter in the ingredient list, or an unscannable barcode can compromise thousands of boxes and thousands of euros. Testing the structure, colors, and functionality before giving the final print approval eliminates financial risks and ensures a launch without delays.
Why is it necessary to test packaging before ordering the final run?
Testing packaging prevents financial losses caused by printing errors, incorrect structural dimensions, or shelf handling issues. When ordering a print run of 5,000 or 10,000 units, the cost of post-production modifications is huge. During the layout phase, adjustments only cost working time in design grafic software. Once the file is sent to the printer without a physical prototype, any folding or color-layer overlap error becomes permanent. Furthermore, testing allows you to verify how the buyer interacts with the product: whether the box opens easily, if the material survives transit, and whether the unboxing experience delivers the intended value. A simple cardboard prototype saves your budget and protects your brand reputation.
What is a print proof and how does it help in the production process?
A print proof (digital or offset proof) is a high-precision printout made to verify color accuracy, text legibility, and image quality before the final run. Your computer monitor displays colors in RGB mode, while printing uses CMYK and Pantone codes, meaning the shade seen on screen will never match the paper exactly. A print proof shows you precisely how ink reacts on the chosen substrate (coated cardboard, kraft paper, or plastic film). By inspecting this proof, you can correct low contrast, font sizes below 6 points, or misaligned graphic layers. For a complex project where packaging is a central piece of your identitate vizuala, the print proof is the official document used to give press sign-off and against which the print shop takes chromatic responsibility.
How do I check if the box dimensions and structure fit the product?
Dimension verification must be done by producing a 1:1 scale unprinted prototype (plotter sample), assembled manually, into which you insert the actual product. Never rely solely on theoretical calculations from the vector die-cut file.
Here are the concrete steps for structural testing:
- Insert the product into the prototype along with secondary packaging (blisters, bubble wrap, custom inserts) and check for excess movement or pressure on the box walls.
- Test the closure system (flaps, magnets, glue) at least 20–30 times to see if the paperboard warps or loses its structural rigidity.
- Measure the final exterior dimensions of the box to ensure it fits properly inside master shipping cartons and on standard pallets.
A single extra millimeter on a tuck flap can jam an automated packaging line at the factory.
How can I simulate the packaging appearance on the shelf before printing?
Shelf presence is tested using photorealistic 3D digital mockups and by physically placing a printed prototype in a real retail environment. A design that looks flawless against a white background in Illustrator might disappear when placed next to competitor products on a supermarket shelf. 3D mockups like those in my portofoliu help you evaluate light reflections, logo visibility from 1.5–2 meters away, and key benefit legibility. For physical testing, print the packaging layout on a color laser printer, mount it onto rigid board, and place it on a shelf under realistic lighting. Evaluate color contrast under warm and cool light. If your new product will be promoted via a site prezentare, the 3D render will be used directly in marketing materials ahead of production.
What physical endurance tests should I run on the packaging prototype?
Physical endurance tests evaluate how well packaging protects its contents during handling, stacking, and courier delivery. Beautiful packaging is useless if it arrives crushed at the end customer's doorstep.
Key practical tests you can perform directly include:
- Drop Test: Drop the fully loaded box with the real product from a height of 80–100 cm onto a hard floor, testing all 6 sides and corners.
- Stacking/Compression Test: Place weights equal to 5–10 times the box weight on top of it for 48 hours to simulate pallet storage.
- Abrasion Test: Rub the printed surface with rough cardboard to check if ink or protective varnish scuffs or peels off easily.
If your product contains liquids or oils, test the board's resistance to accidental leaks as well.
How do I ensure barcodes and legal elements are scannable and compliant?
Barcode and legal text verification is carried out using a physical barcode scanner and a rigorous proofreading audit before file submission. An EAN-13 or QR code that fails at checkout results in entire batches being rejected by retail networks. The barcode should be printed at a minimum of 80% standard scale on a white or very light background, keeping a quiet zone of at least 3 mm to the left and right of the bars. Never use red ink combinations on white backgrounds for barcodes, as scanners use red light and will fail to detect contrast. Regarding legal copy (nutrition tables, ingredients, manufacturer address, recycling symbols), maintain a minimum x-height of 1.2 mm for text and cross-check compliance with active national and European regulations.
How much does a packaging prototype cost and how long does it take?
A physical packaging prototype costs between 30 and 160 EUR (150 to 800 RON), with a turnaround time of 2 to 5 business days. The price depends on die-line complexity, special embellishments (hot foil stamping, 3D spot UV, embossing), and technology used (digital plotter cutting vs. physical steel-rule die). Although it seems like an extra expense, this cost represents less than 2-3% of an average production order value. Time invested in prototyping prevents massive bottlenecks: fixing an incorrect die-cutting matrix can add 2 weeks of delay and thousands of euros in extra costs. Working with a specialized packaging designer streamlines the workflow, as correctly prepared files from the start reduce back-and-forth revisions with the print house.
How do digital optimization and AI visibility help when launching new packaging?
Launching new packaging must be backed by a clear digital footprint so search engine algorithms and AI systems quickly connect the new design with your brand. When updating packaging or introducing a product line, visual and text search bots index updated photos across your website and social channels. By applying modern optimizare GEO AEO AIO practices, you ensure generative AI engines (ChatGPT, Perplexity, Google Gemini) accurately understand your new packaging specs, ingredients, and key selling points. High-resolution product photos or 3D renders must be tagged properly using structured data (Schema.org), preventing outdated packaging visuals from lingering in search results long after launch.
How does packaging influence the rest of the brand identity and visual assets?
Packaging serves as the most direct physical touchpoint between consumer and brand, setting the visual tone for all supporting communication channels. When designed properly, it takes the core visual markers established during creare logo and translates them into a cohesive tactile experience. Colors used on the box must match promotional print collateral, web banners, and digital landing pages. A premium box featuring matte coatings and foil accents calls for an equally refined, minimalist visual style across digital touchpoints. Therefore, testing packaging isn't just about inspecting paperboard—it's about verifying that the physical product aligns seamlessly with your overall brand image in the market.
What's next?
If you are launching a new product or redesigning existing packaging without risking costly printing mistakes, the next step is building the vector die-line and creating your first prototype. I handle the complete workflow: from graphic concept and vector die-cut engineering to prepress preparation and printer coordination. Visit the contact page to discuss your project details and get a clear estimate for timeline and costs.